
Honeypot form
Learn How to Use a Honeypot in Webflow
Honeypots are an essential addition to Webflow forms for reducing spam submissions without compromising accessibility. This guide provides a comprehensive overview of how to implement a honeypot, customize it for accessibility, and integrate it with Make.com for enhanced workflow automation.
Accessibility-Friendly Honeypot Setup
Creating the Hidden Field
- Add a Honeypot Input Field:
- Use realistic field names that spambots are likely to fill out, such as email or phone.
- Wrap the input in a container div and assign a class (e.g., .hidden-field).
- Style the Field:
.hidden-field {
  position: absolute;
  left: -9999px;
  overflow: hidden;
  width: 0;
  height: 0;
  opacity: 0;
} - Enhance Accessibility:
- Set the input's tabindex to -1 to prevent users from tabbing to the field.
- Add an aria-hidden="true" attribute to the field’s label.
- Prevent Screenreader Detection:
- Use display: none or visually hide the element while ensuring it remains functional for spambots.
Preventing Form Submission with JavaScript
To block form submissions when the honeypot is filled, add the following script:
const submitButton = document.querySelector("#submit");
const honeypotField = document.querySelector("#hidden-email");

honeypotField.addEventListener("input", () => {
  if (honeypotField.value.trim() !== "") {
    submitButton.disabled = true;
  }
});
This ensures that any form submission attempt with a filled honeypot field disables the submit button, stopping spambots in their tracks.
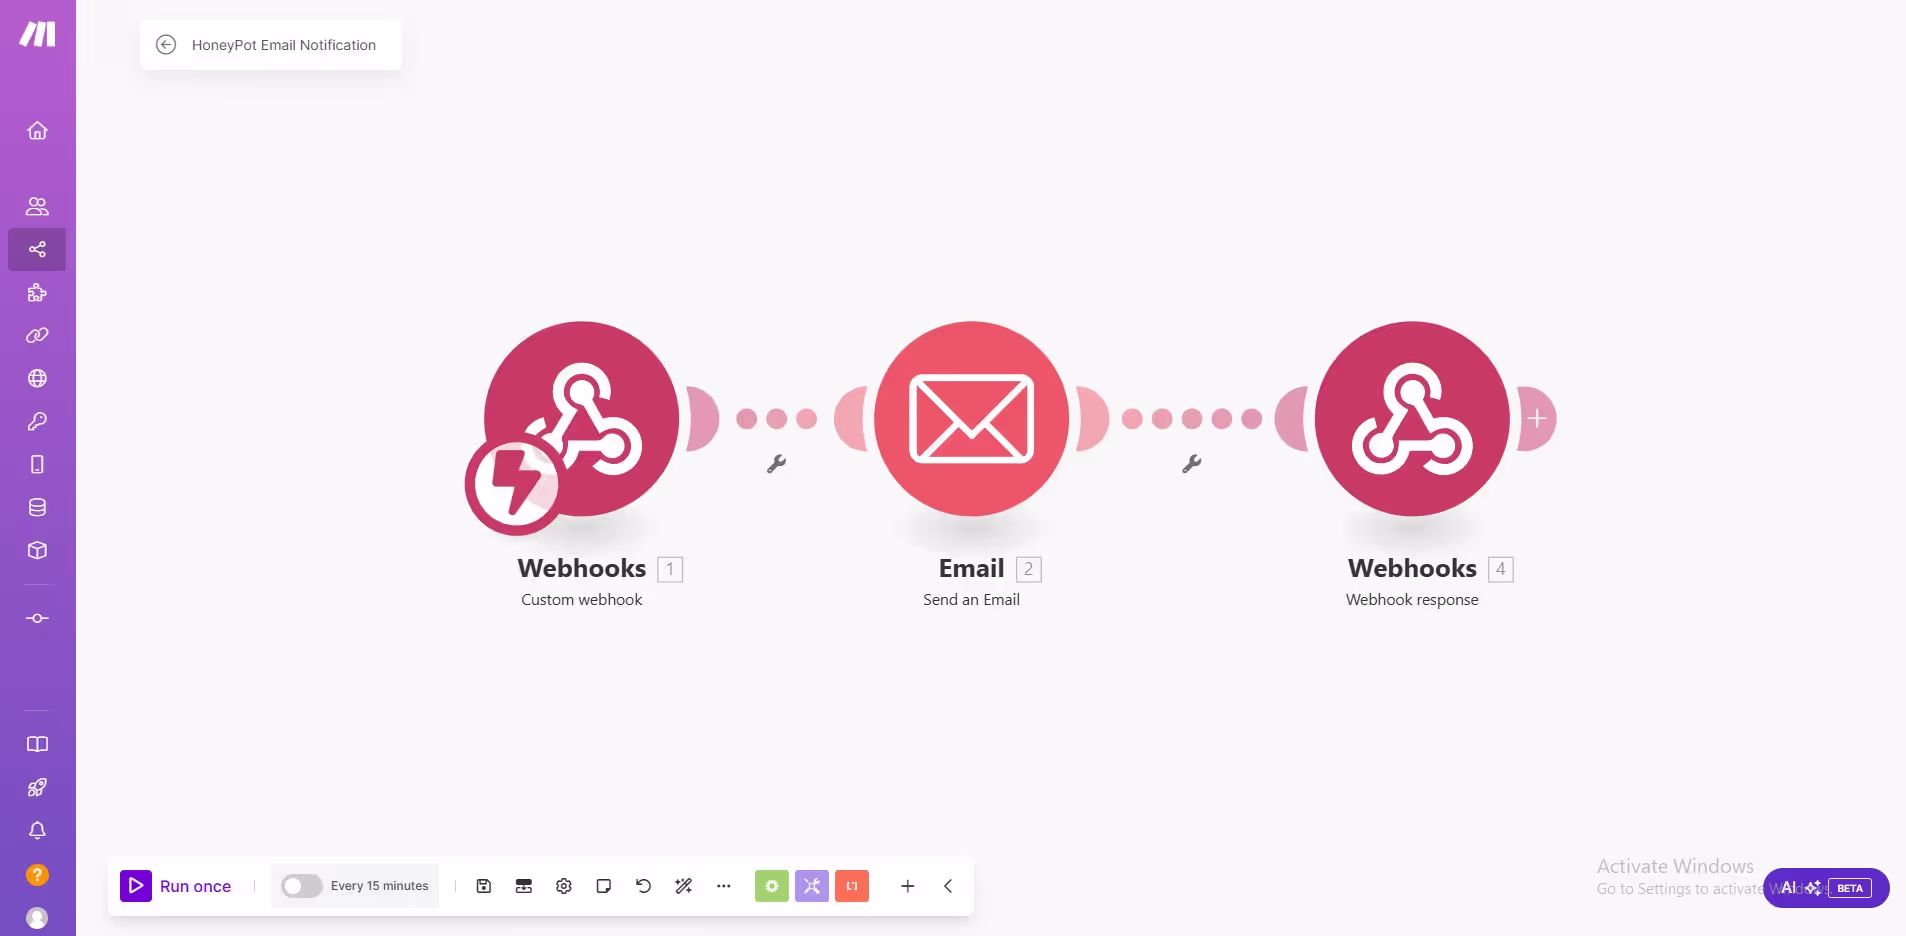
Integrating with Make.com
Make.com allows you to automate workflows and filter spam submissions efficiently. Here’s how:
- Set Up a Make.com Scenario:
- Create a new scenario for handling form submissions and sending email notifications.
- Use a filter to check if the honeypot field is empty.
- Conditional Filtering:
- Configure the filter to allow only submissions where the honeypot field is blank.
- Automated Responses:
- Send an email notification or trigger other actions only for valid submissions.
Downloadable Template
To streamline your setup, download our preconfigured Make.com template to integrate with your Webflow form.
Best Practices for Honeypot Implementation
- Testing: Regularly test your honeypot setup with different scenarios to ensure it's working as expected.
- Avoid Overloading: Combine the honeypot with other anti-spam measures, such as rate-limiting or CAPTCHA, for added security.
- Maintain Accessibility: Always prioritize an inclusive design by ensuring the honeypot does not interfere with assistive technologies.
By implementing this setup, your Webflow forms will remain both user-friendly and secure from spam submissions. Take advantage of Make.com’s automation to streamline your workflow and handle form data efficiently.
Don't want to connect Make.com?
No need! Use this script in "before </body> ends" instead current one:
<script type="text/javascript">
const submit = document.querySelector("#submitBtn");
const honeypot = document.querySelector("#lastName");
const business = document.querySelector("#personal");
const show = document.querySelector("#showPot");

show.onclick = function () {
    business.classList.toggle("personal");
    honeypot.classList.toggle("tk");
};

honeypot.oninput = function () {
    if (honeypot.value.length > 0) {
        submit.disabled = true;
    }
};
</script>